Dear fish lover,
In this post, i’ll walk you through a journey I took to give my then 10″ long Red Tail Golden (RTG) Arowana a new home – a 600 litre aquarium. We’ll take a look at my initial small aquarium and then move on to see, how I built the foundation for the bigger tank, placed and prepared it, and introduced my fish to their new home.
Final result of all the work:
This is my champ with her tank mates in her new 600 litre home. My RTG Arowana is 21 inches long now.
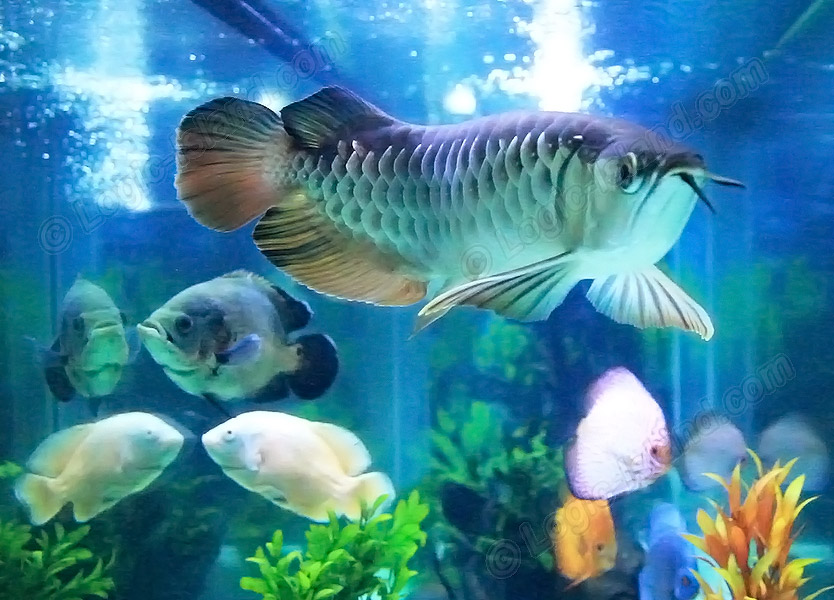
Note: Though I kept Arowana, Discus and Oscars together peacefully for several months, the Tiger Oscar started getting territorial towards the other Oscar and the gentle Discus. So I eventually kept the tank just for the RTG, five discus and a feather fish that came in later.
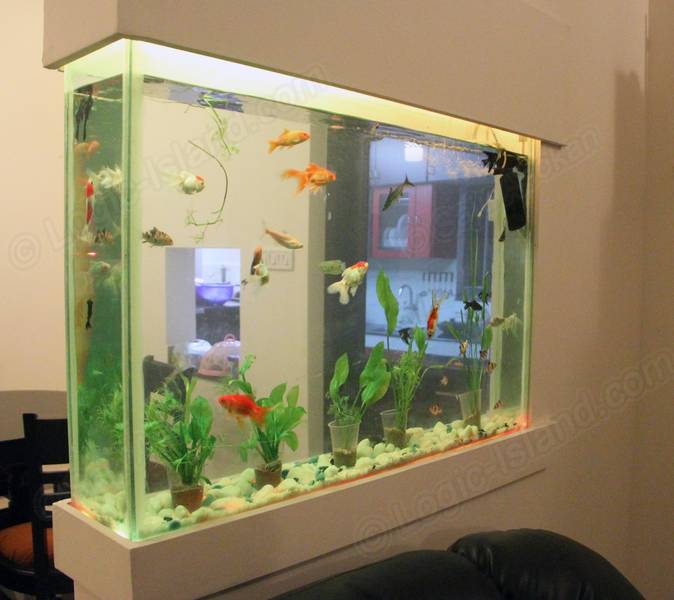
It all started pretty small
When we built our home, I wanted a beautiful aquarium in the partition that separates our living from the dining and here’s what I came up with five years back – a modest 100 litre tank that was just under half a feet wide. It was meant primarily for gold fish and it felt adequate at the time.
I went on with my aquarium hobby for three years, adding different varieties and losing some. Most of my fish were relatively smaller varieties like gold fish, angels, small gouramis and the like. It was during one of my visits to the pet store to get some fish feed, that I met this beauty.
She was a small 6 inch long Red Tail Golden (RTG) Arowana who was just four months old then. She wasn’t a particularly colorful fish like a gold fish, or a blood parrot cichlids that I had raised, but there was an unmistakable elegance that drew her to me.
But boy, her price got me almost fainted. It was INR 16K which translated to $200, which was a lot of money to me to spend on a fish, back then. This RTG carried a chip under her scales and a certificate from her hatchery which was legally required for import from Singapore to India, as RTG Arowana and Asian Arowana in general are an endangered category. I wasn’t ready to spend that much money on a fish, until I looked up a grown up specimen online. A full grown’s elegance was something I couldn’t resist. I threw in the towel and got her home.
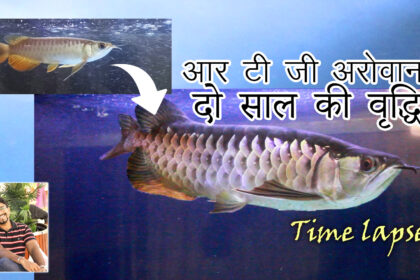
You can read more about her and her growth stages in a separate post soon.
Back to our topic, she grew very happy in my modest fish tank for another 6 months or so, until I realized that I couldn’t postpone the tank upgrade any longer or I’ll end up stunting my fish’s growth.

The Revamp
On the day when my wife and kid left to wife’s hometown on a few week’s vacation, I decided to cut the concrete. I knew my home will look like a war zone after all the dust settled; so I covered all that I could. I moved all the fish to a large container and shifted the fish tank to a safe place in my bedroom floor, with my friend’s help.
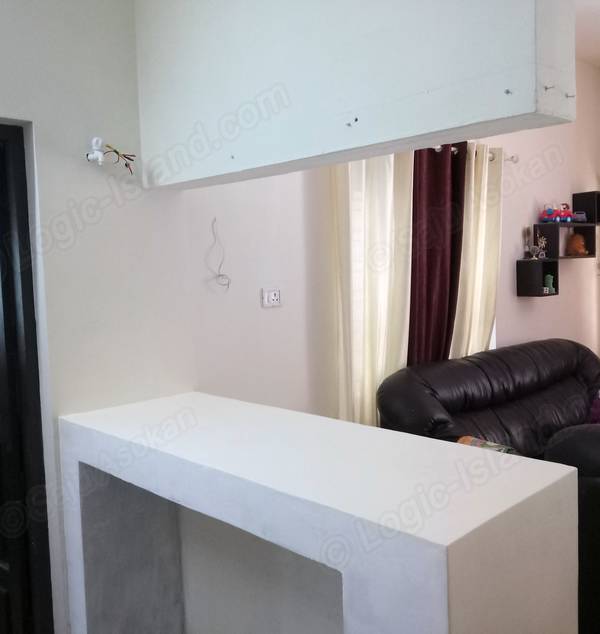
My 100 liter tank didn’t extend the whole length of the partition. To accommodate my new 600 liter tank, I needed some more space there. With a concrete cutter and hammer, me and my friend removed the remaining portion of the solid wall.
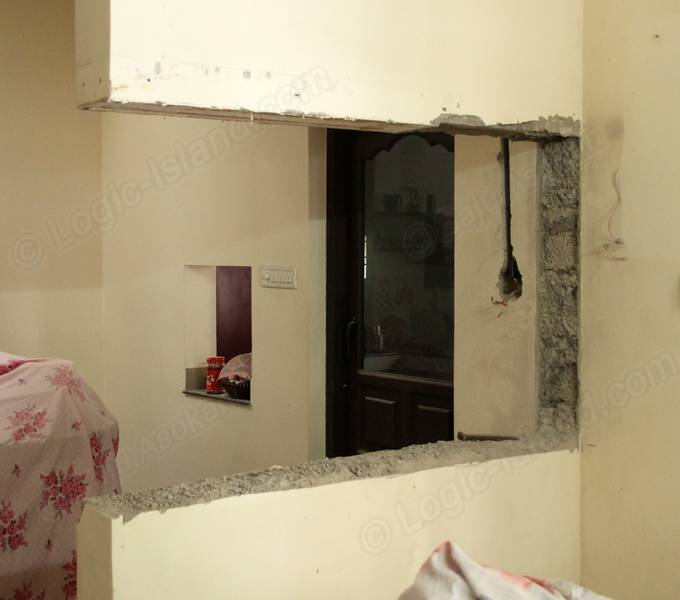
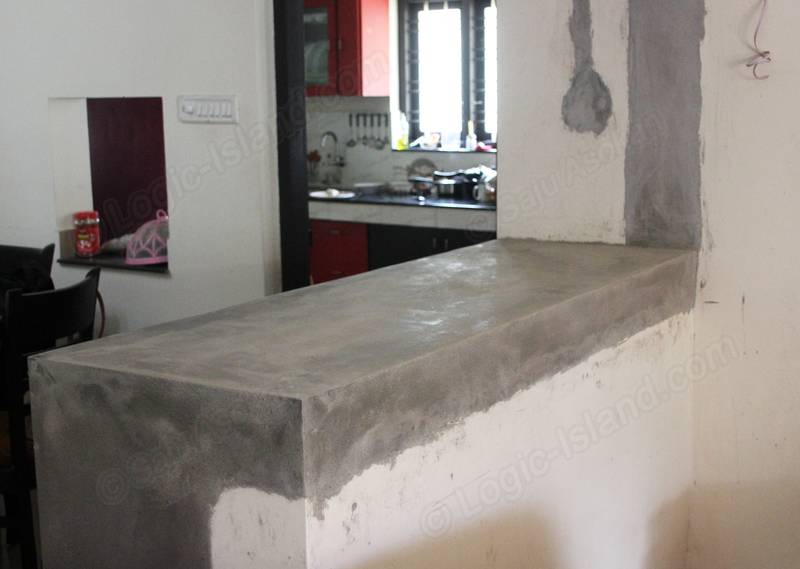
The original tank was just 15 cm wide and a full grown RTG would need a 60 cm width at the bare minimum, and that demanded a wider platform. We extended the separating wall using bricks and prepared a mold to cast the 6 inch concrete slab. The slab had to be a thick one with ample steel rod reinforcement within, so that it can support the filled weight of my new tank which would be approximately 750 kg.
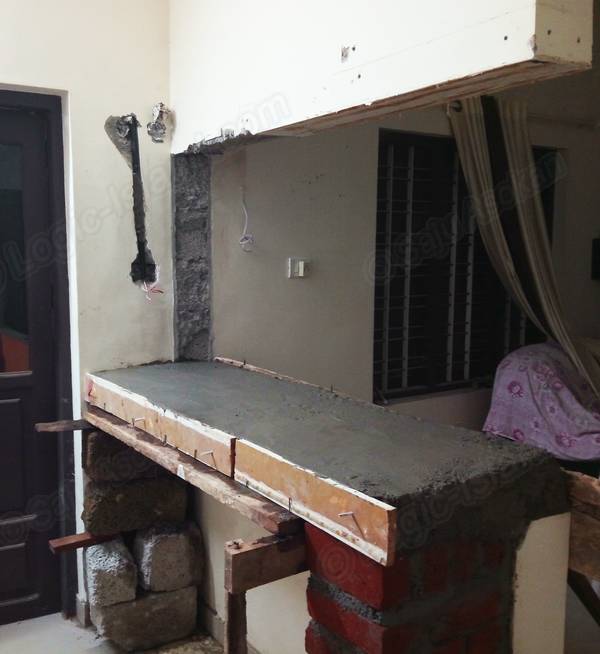
You can see in the picture above, that the adjacent wall was cut to support the necessary plumbing and electrical wiring.
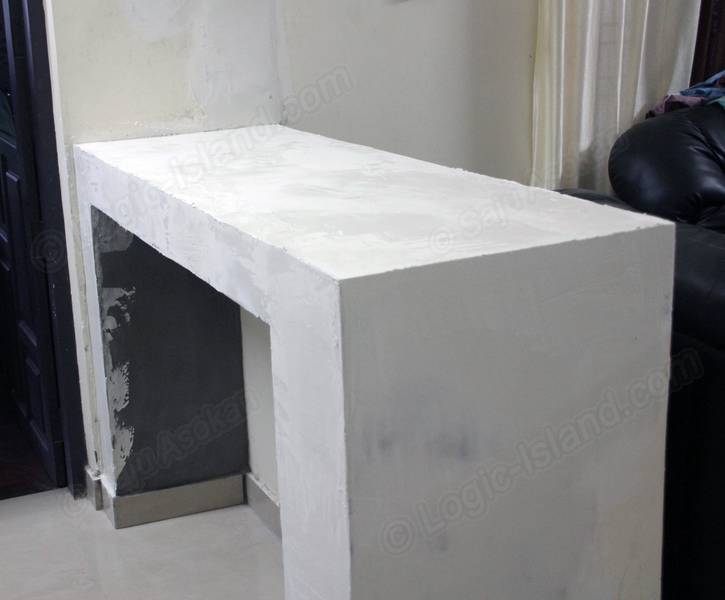
After curing the concrete slab with frequent watering for five days, we went ahead and plastered the newly built structure.
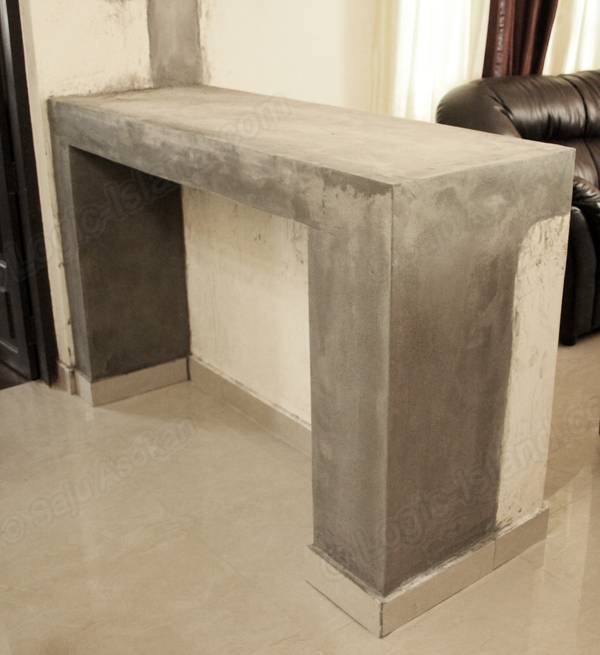
The plastering was also allowed to cure for a few days.
And then the white cement putty to give finishing to the wall.
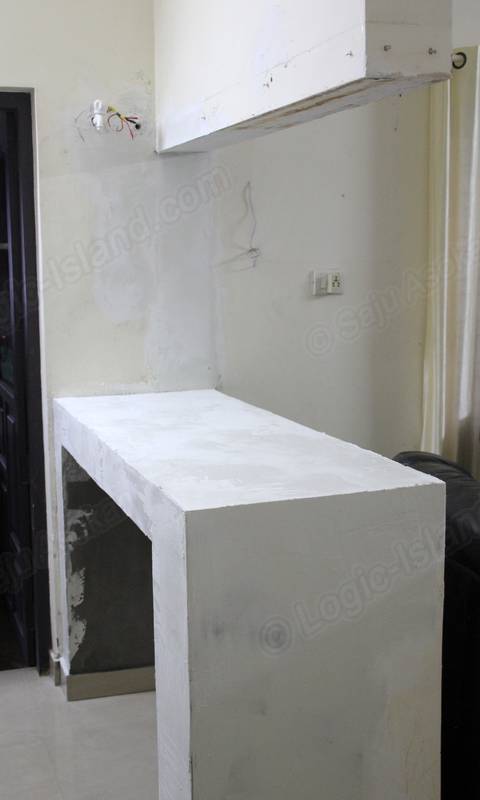
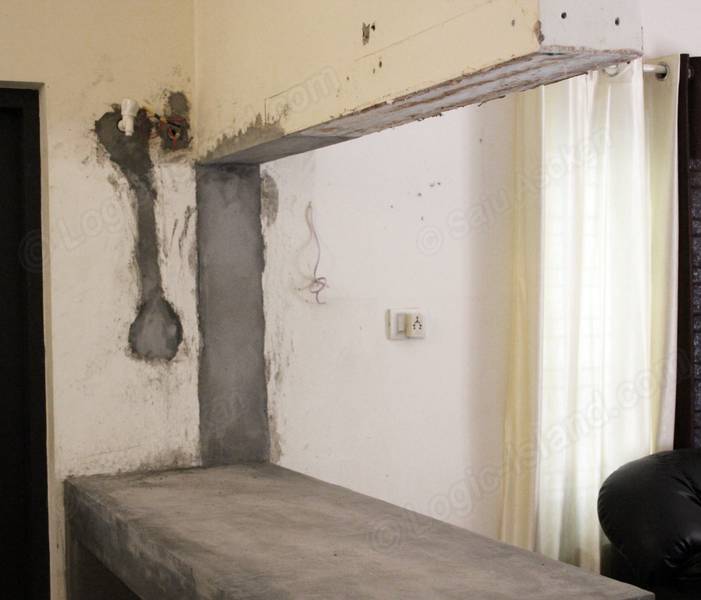
Rubbing and sanding the putty was a tough job but the results came out pretty good. Paint primer was applied followed by emulsion paint. You can see in the picture above, the tap to bring in fresh water, the outlet for the waste water and wiring from the inverter backup .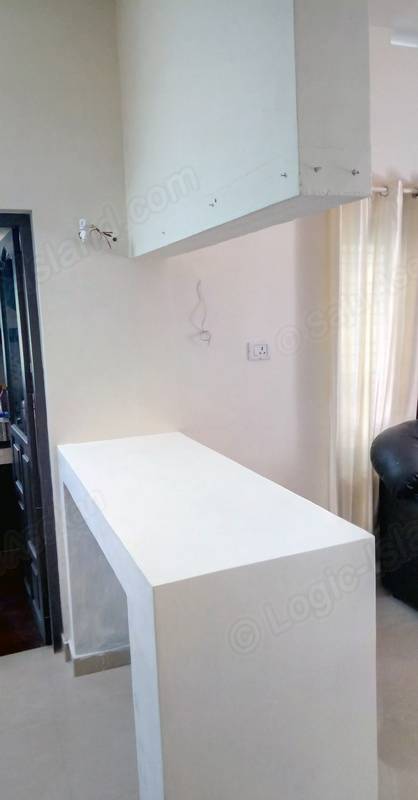
Placing the tank, and cycling it
With the platform ready, it was time to move in the 130 kg monster tank. Me, two of my friends and two folks from the aquarium store shifted it carefully from the transport vehicle and placed it very carefully on the concrete base with sufficient thermocol padding between the concrete and glass. The padding helped to even out any irregularities that may be present on the platform, that may otherwise lead to cracks in the glass, when the tank is filled. Next, I filled the tank with well-water, up to around 50% of its height.
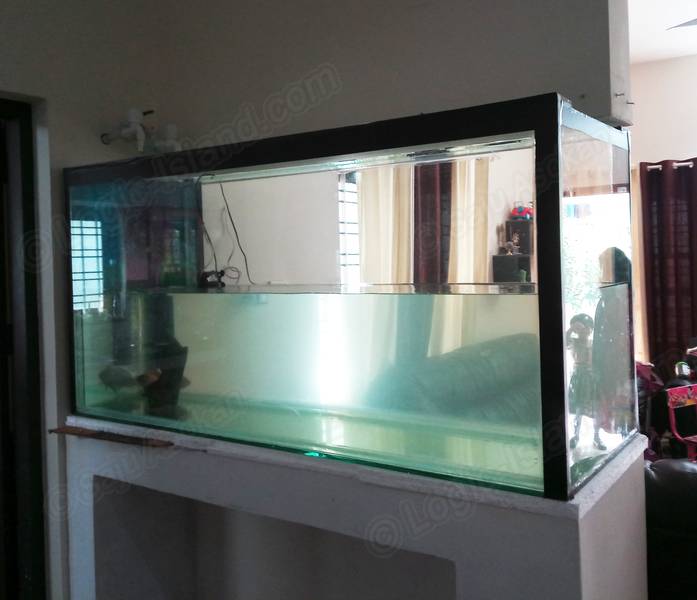

I jump started my tank cycling using a couple of super hardy red tilapia from the Tilapia farm on my open terrace. Tilapia can tolerate spikes in ammonia and nitrate, that is bound to happen as the tank cycles and matures. I kept a sponge filter aerator so that the beneficial bacteria would start colonizing the sponge surface, which I can move to a larger filter later. I kept the tank like this overnight to make sure it was structurally stable and developed no leaks from the shifting process. The next day I filled it up to the top and kept it there for a few days to let the tilapia complete the nitrogen cycle.
Designing and building a tank cover with compartments
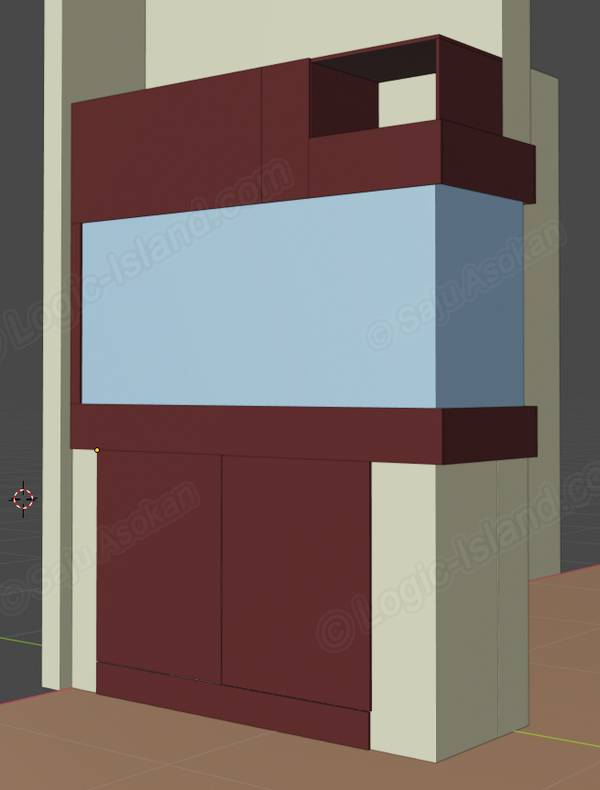
I always wanted my tank to have a cover with compartments to hold filter, lighting etc so that such complexities will be concealed from the viewer. I modeled my concept in the 3D modeling tool – blender. Modeling the design in 3d before cutting wood, helped me observe it from all sides, and fix design flaws beforehand. The cover would give accented borders when looked at from the living room, while the dining room’s side housed the overhead compartments.
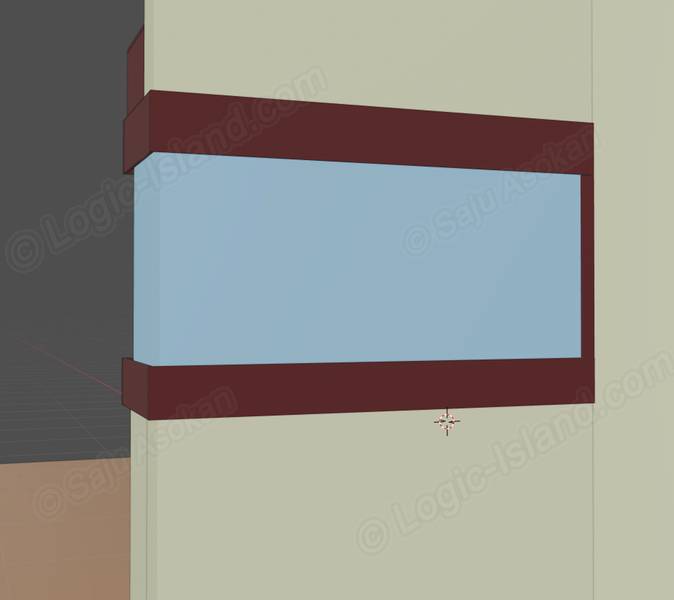
This is how the back side of the aquarium was modeled with all the compartments hidden. The top right portion would store a few books and possibly the fish feed.
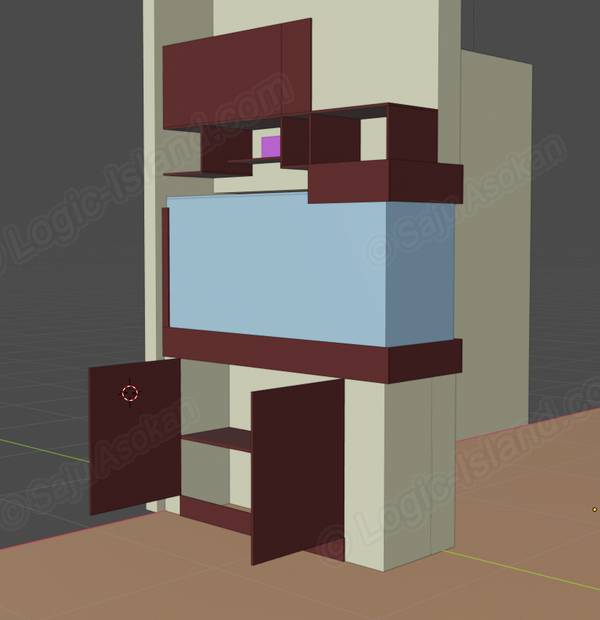
Opening the compartments will give me access to the plumbing, lighting, filter etc. The center region’s partition is recessed so that i could get greater access to the tank’s inside for cleaning and maintenance.
I went ahead with the overhead tank cover work while my tilapia converted the feed into ammonia and helped complete the tank cycle. I wanted to transfer my Arowana only after the completing the tank cover, as the work would involve wall drilling stuff that would startle her, and the fine dust wouldn’t be good either.
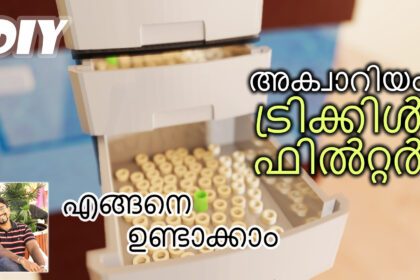
To keep this article concise, I’ve moved the step by step DIY details on the cover building here.
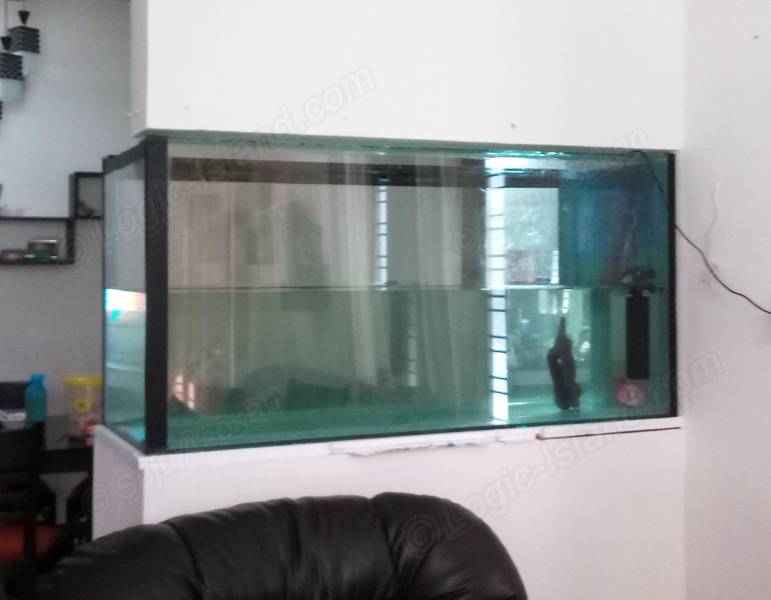
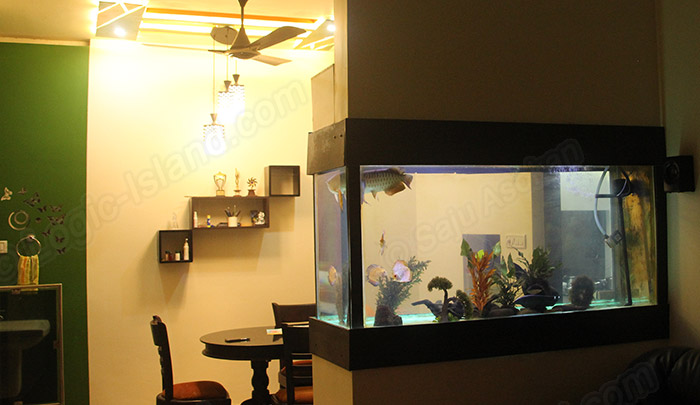
This is how it turned out with a coat of satin enamel paint.

It took me almost a week to complete the cover with the cupboards within. This is a recently taken picture and you can see that my RTG Arowana is almost full grown.
This concludes the overview on setting up my large aquarium. Detailed posts on specific details like, tank cover DIY, trickle filter etc can be explored below. Thanks for reading.
Tank cover building detailed DIY here
Trickle filter building detailed DIY here
Setting up automation here