In this post we’ll explore in detail, how I built an aquarium cover for my 600+ litre Arowana and discus community aquarium. This was part of setting up a large tank right from the foundation preparation to automation that can be read in the post here.
Planning the tank cover
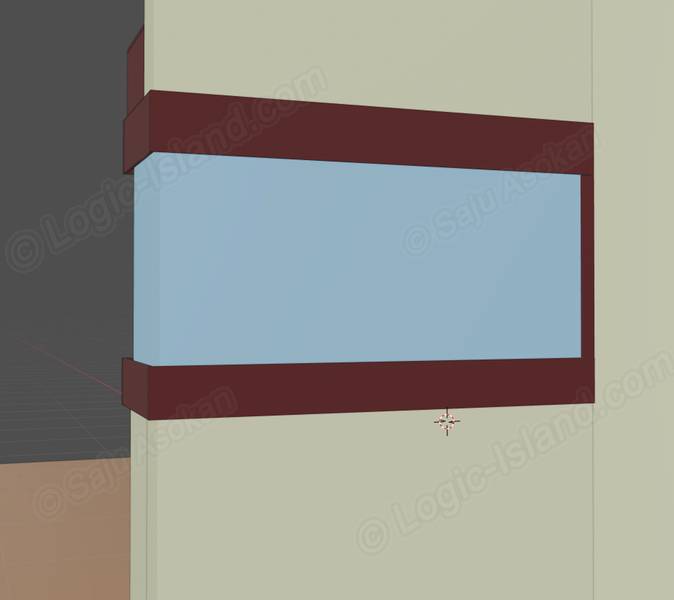
I always wanted my community fish tank to have a cover with compartments to hold filter, lighting etc and at the same time, have such complexities concealed from the viewer. I modeled my concept in the 3D modeling tool – blender. Modeling the design in 3d helped me observe it from all sides, and fix design flaws beforehand.
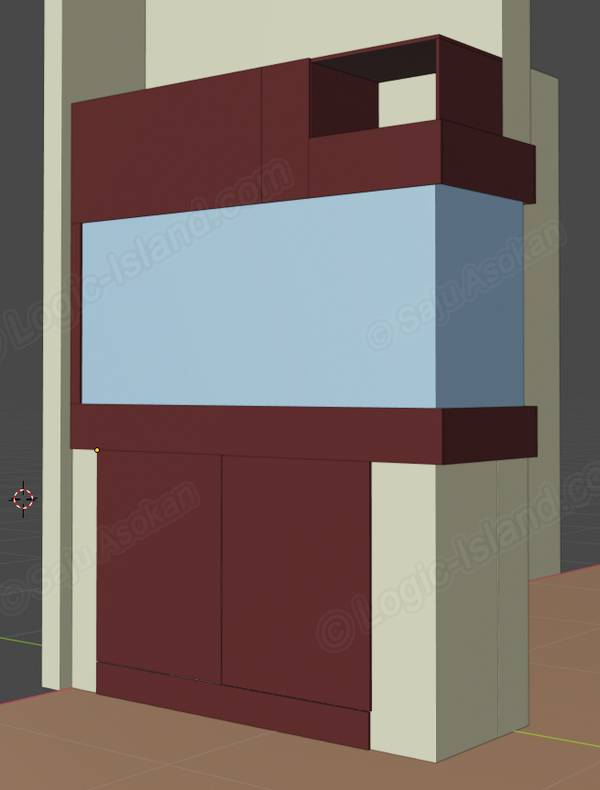
The cover would give accented borders when looked at from the living room, while the dining room’s side housed the overhead compartments.
This is how the back side of the aquarium was envisioned with all the compartments hidden. The top right portion would store a few books and possibly the fish feed.
Opening the compartments will give me access to the plumbing, lighting, filter etc. The center region’s partition is recessed so that i could get greater access to the tank’s inside, for cleaning and maintenance.
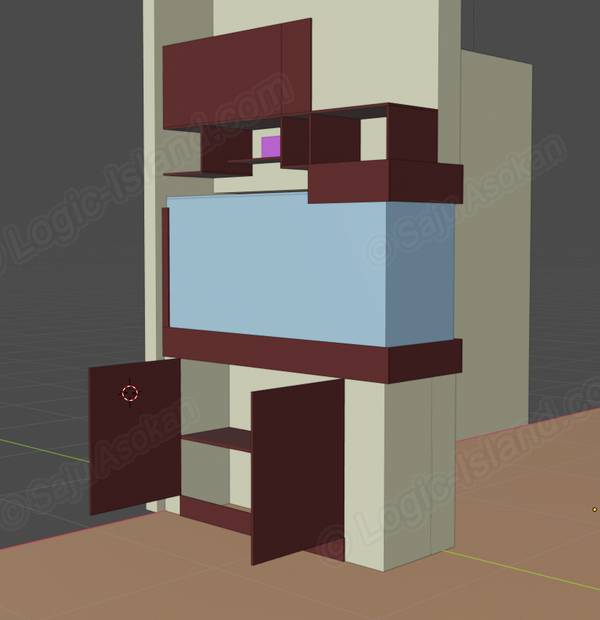
The bottom space is exclusively for my kid’s toys.

Building the tank cover
I chose 1/2 inch multi wood (pvc board) to build the tank cover with the integrated cupboard. I chose multi-wood with a few reasons in mind. Multi wood is water and termite proof, is extremely light weight, fire resistant and is easy to work on. Multi wood sheets were a bit expensive compared to MDF, but the numerous advantages definitely outweighed the slightly higher cost.
I found this great online tool cutlistoptimizer.com that very much helped me plan the cuts to convert the large 8 feet x 4 feet multi wood sheet into the desired sized pieces optimally. Since I made the 3d model to the actual scale of my room, I just had to take the length and width of each piece from my design and feed it to the online tool. The tool showed me the ideal places to cut the board with random names assigned to each piece for easy identification. Without this tool, I would’ve wasted some of my sheet’s real estate for sure.
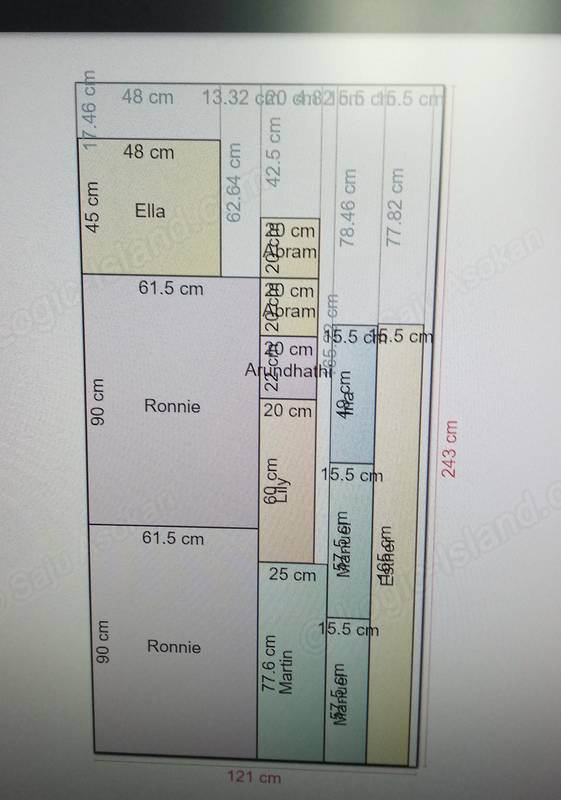
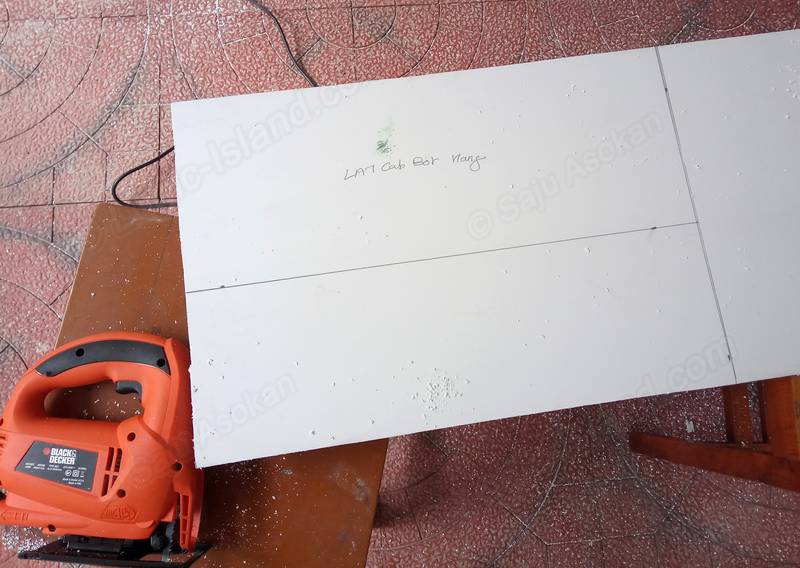
The first step was to mark the cuts. I followed the online tool’s diagram and marked all the cutting boundaries and wrote down the names inside. Naming the pieces is very important, without which you’ll have a hard time figuring out which one fits where, once the large sheet is turned into a dozen pieces.
Once the marking was complete, I started slicing up the multi-wood into the pieces I wanted. My Black & decker jigsaw cutter made the job a breeze. The below diagram is that of a smaller group i cut apart from the large multi-wood sheet and my jigsaw resting beside.
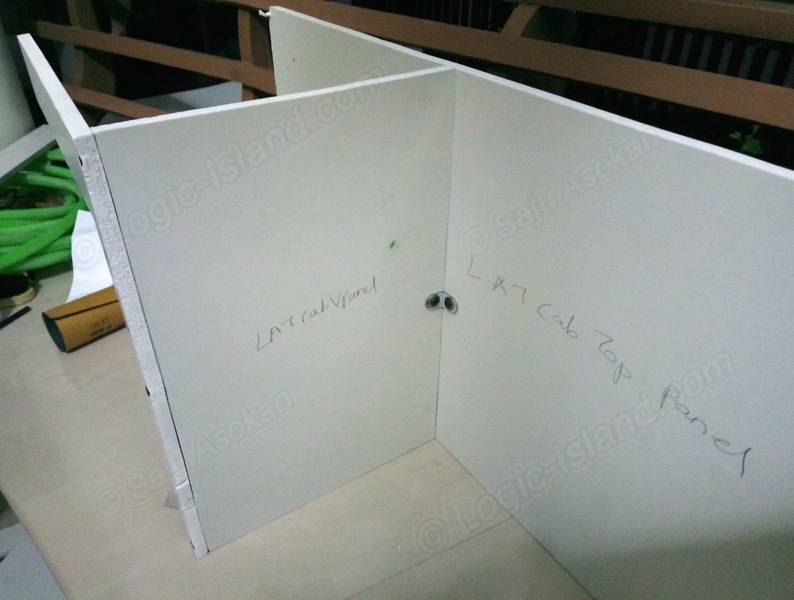
After cutting the pieces, I started assembling them together. Wood screws were used to keep the pieces together.

90 degree clamps were used at the joints for added strength.
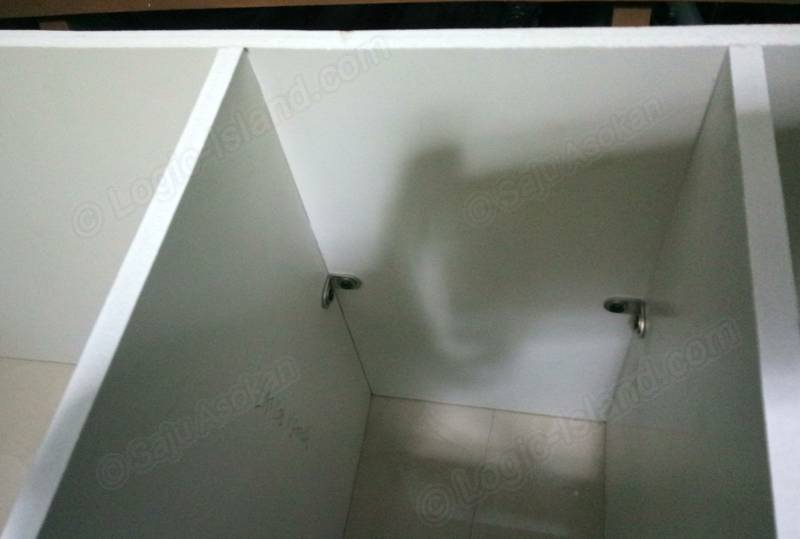
After making sure that everything fits perfectly, I used superglue to fuse the pvc boards together.
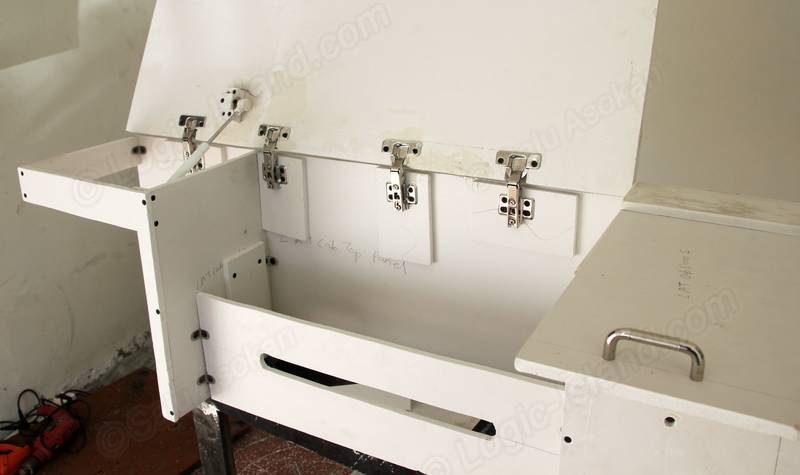
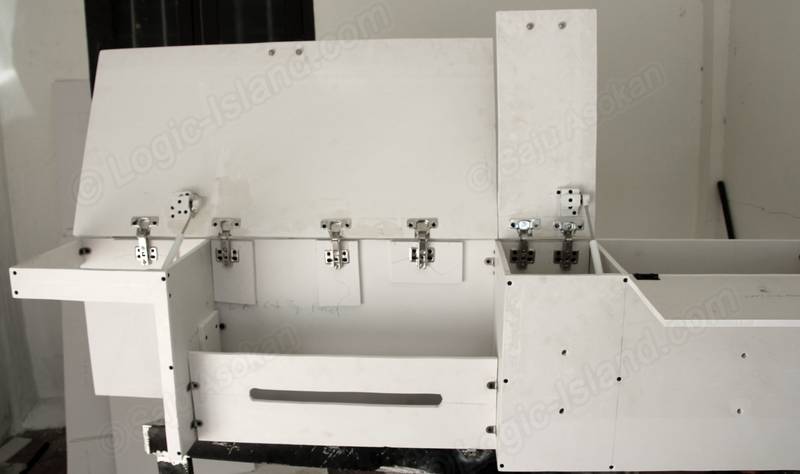
The doors were assembled, hydraulic closing mechanism fixed and handle’s attached.
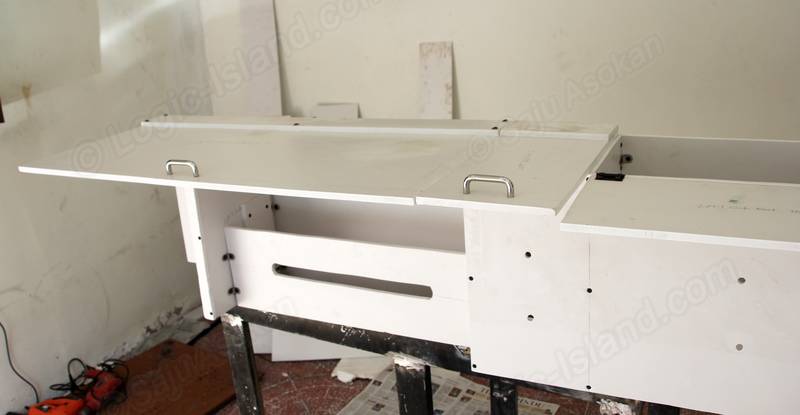
This is how the assembled overhead unit looked when finished. The uncovered space on the left side compartment is meant to accommodate the plumbing and automatic water change systems. The center compartment was meant to keep a top filter, but was later replaced with a larger trickle filter which again was a DIY project, the details of which can be found here.
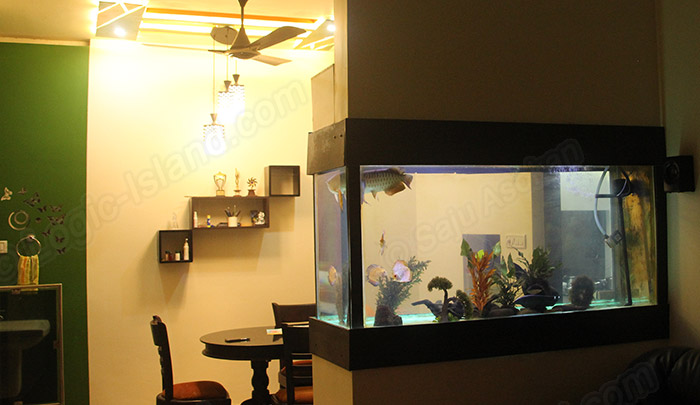
Applied satin enamel paint and this is how it look.

Approximately two and a half 8 feet x 4 feet, 1/2 inch thick multi-wood sheets were used up when the cover was complete. This concludes my DIY steps on building an aquarium cover. Thanks for reading.


Thank you for sharing your DIY tank set up. Building this tank requires hard work and it really looks great.
Thank you so much Regina.